If you have uploaded images onto your website, you may find that you need to edit them to fit into the recommended size for best viewing.
Important Reminders to Protect You!
In the ClubSpark admin pages there are many areas where admins can upload photos to public facing web pages to help enhance and customize their tournament homepages and organization websites.
As a reminder you should have permission or a license to use any images you use in your materials and online if you are not the actual copyright holder.
Please do not download and use images you find online, in social media, or various other platforms without the permission of the photographer (or other copyright owner). But, you may think, others are downloading and sharing photos all the time so how can it be illegal? Although this may be a common occurrence, it's copyright infringement to use images you do not have rights to.
You should not take an image you sourced online and post it on your website or include it in your materials unless you have permission or a license to do so. Still have questions? Customer Service can help!
Here is a list of the recommended sizes for each area of your website, this information is also displayed within the modules where images can be uploaded:
Coaching Module:
- Holiday Camps Listing Photo - 300px by 250px
- Holiday Camp Camp Details - 1800px by 440px
- Coaching Course Cover Photo - 1800px by 440px
Events Module:
- Event Cover Photo - 1800px by 440px
- Activity Photo - 544px by 358px
Website Module:
- Logo Image - 75-300px by 75px
- Header Image - 1800px by 440px
- Gallery Images - 566px by 378px
- Partner Images - 180-480px by 180px
- News Article Image - 1200px by 675px
Please note that within the Website Module, you can add images into the text boxes for each page.
To Edit an Image
To upload an image, you first need to click onto the 'Browse for Images' box.
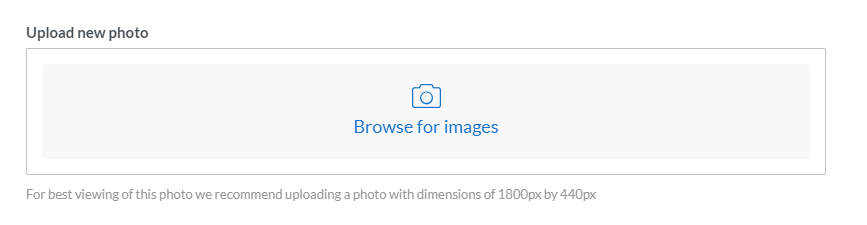
The following overlay will then appear:
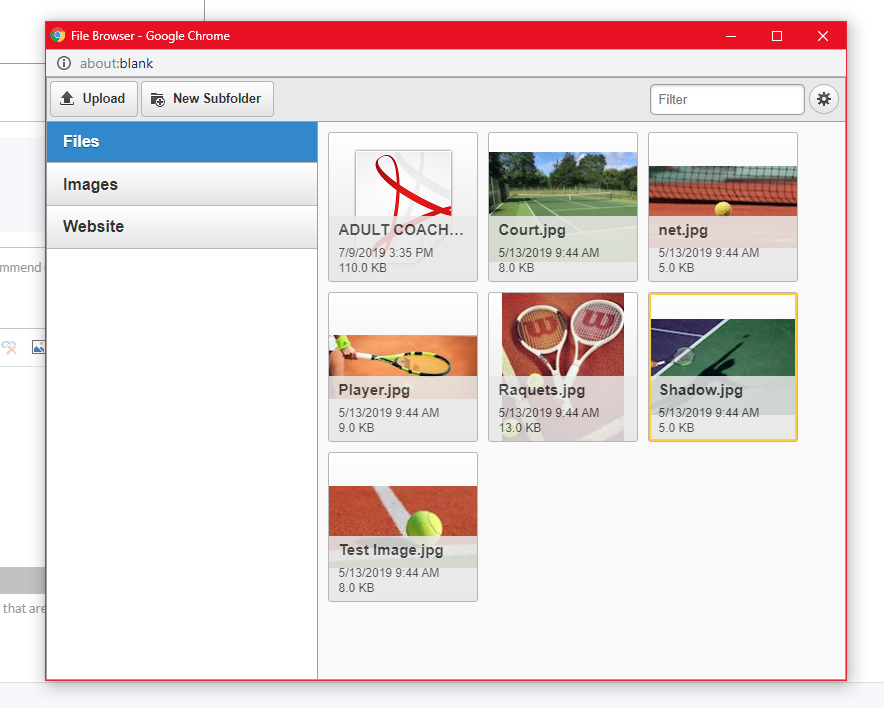
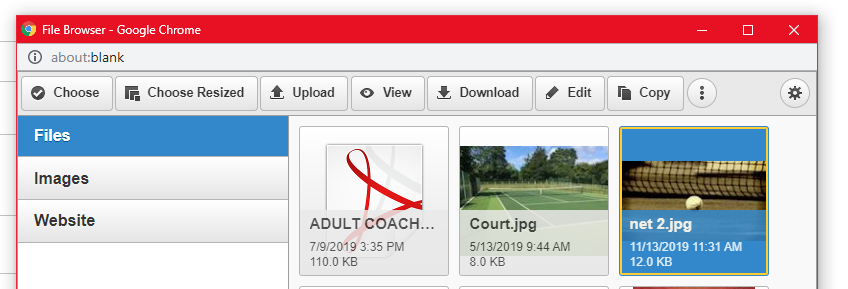
You will then need to select the image you would like to upload. Once you have selected your image, which will be highlighted blue, more options will appear along the top.
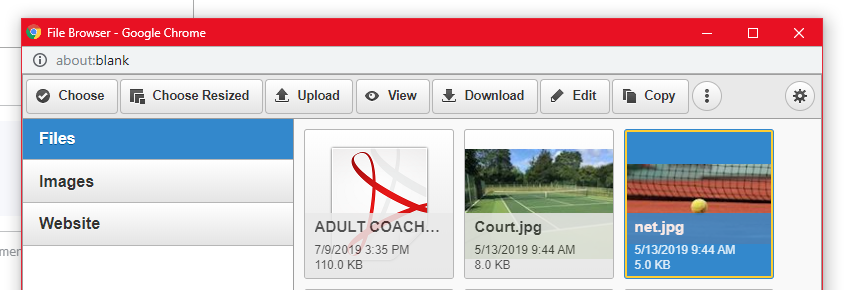
Click the 'Edit' button, where you will be taken to the next to the next screen in the overlay:
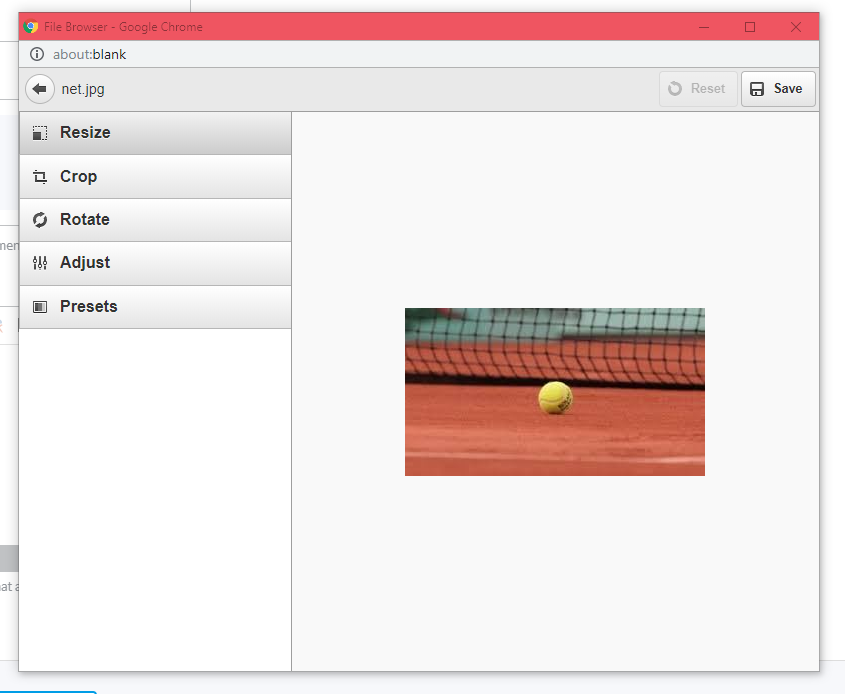
Here you will be able to edit the image to fit the recommend sizing by either resizing the image or cropping it. You can use the Adjust and Presets options to change the brightness, contrast, saturation and so on of the image selected.
Once you have made you changes, you will need to click the 'Save' button in the top right-hand corner of the overlay. You will then be taken back to the previous screen, where you will be able to select the image again. This time clicking the 'Choose' button to upload.
If you are uploading images into text boxes, click the 'image' icon where you will be able to browse the image you wish to import and follow the steps above if you need to edit the image.